DIY Gas Fire Pit Build
/What You Need:
Burner (we used an 18” Penta Burner)
Dante valve (is 3/4” and comes in straight or angled
An extended key for going through the really thick block (we sell 12” and 18”)
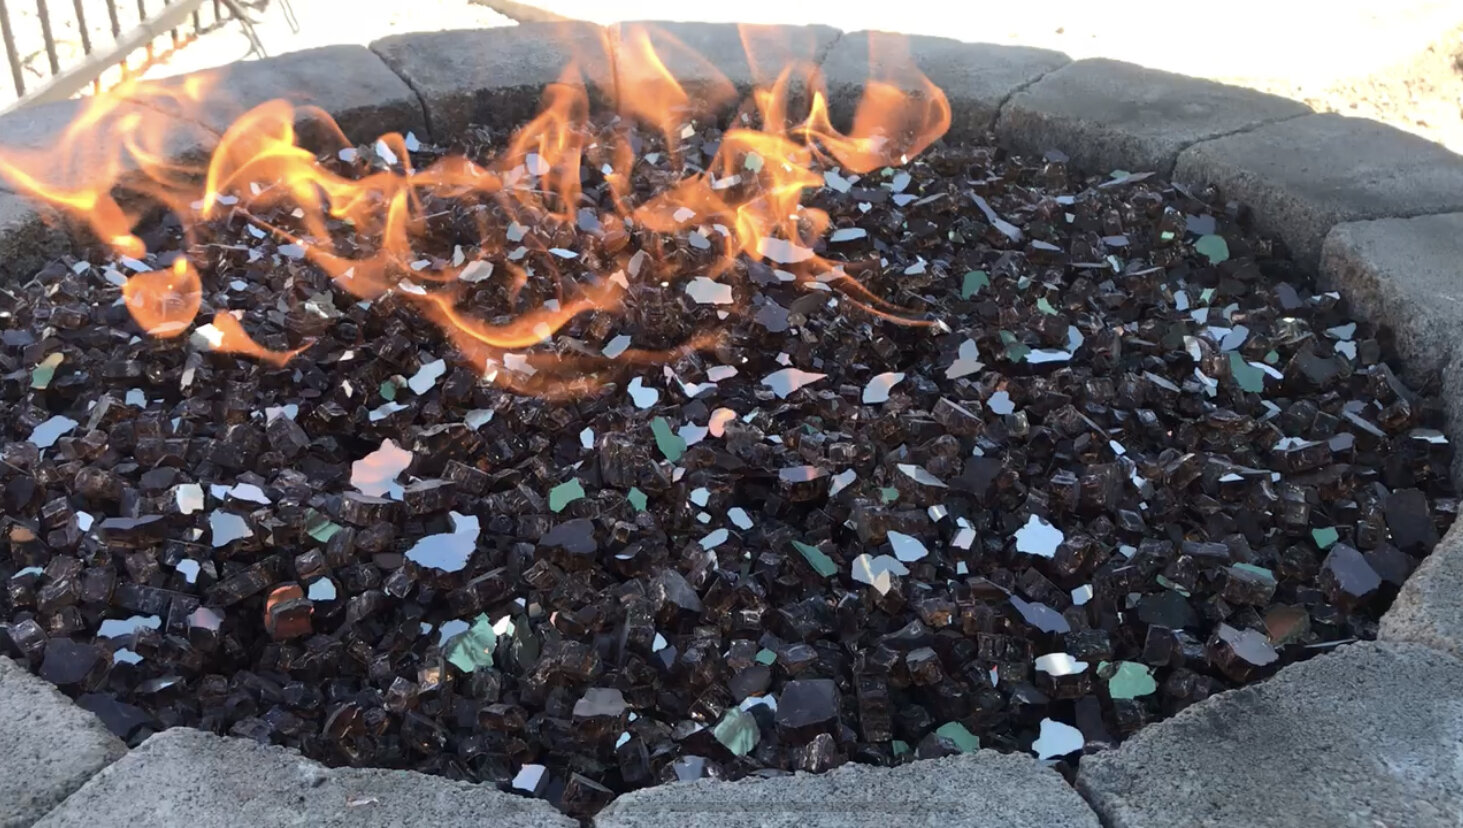
Optional: Reflective fire glass (we used six 10 lb. buckets)
These are all items that you will be hard pressed to find at a local hardware store or Home Depot. What you CAN find at a hardware store is all of the gas fittings you will need for the inside of your fire pit such as elbows, different lengths of pipe, etc. Every install is going to be a little bit different and whether you get 1/2” or 3/4” fittings will depend on what line you run to your fire pit. We recommend running 3/4” up to the burner as it will give you a quieter fire pit.
As mentioned before, in this install we used an 18” penta burner. Some of the burners we sell do not have a 3/4” connection. If you’re using 3/4”, you want to run everything 3/4” right up to the burner and then just reduce it down to 1/2” that’s going to give you the most volume of gas behind the burner and will give you the highest flame and best performance.
You’re also going to need under ground risers and gas flex line. If you are in Utah County, we are certified to do all of the gas work for you. We don’t dig the trench, but we will put in a layer of sand and the detector wire and fill it back up for you. If you want to hire another contractor or if you do it yourself, make sure you leak test the gas and use the detector wire. We recommend that you have someone with experience and a gas certification lay the gas line for you to avoid breaking code or running into any other issues. In some cases, you can only purchase gas line if you are gas certified.
Step 1: Dig the Trench
First, you want to get the trench ready to lay your pipe in. It needs to be 2’ feet deep, or even up to 30” to be safe. You don’t have to follow a straight line, you can curve around any structure since the pipe is fairly flexible.
Step 2: Lay Pipe & Risers
For this install, we ran 3/4” gas line. Once your trench is ready, the first thing you need to do is hone out the inside of the flex line with a honing tool that you can find at your gas supply store. Then, use lubricant on the ends and slide the fittings together to attach the riser at the end where the fire pit will be. Continue to lay all the flex pipe down from one end to the other. On the end closest to your gas meter, lay the second riser next to the flex line where you want it to sit. Mark the flex line, cut it, and hone it just like the other side. After honing, just use your lubricant to slide it into the fitting on the riser.
Step 3: Test & Hook Up Gas Line
Next, hook up a temporary line. This is just a gas flex that you want to temporarily hook up and cap off the other end so you can complete a pressure test and a leak test. For more instructions on this, make sure you speak with a professional. Spray the riser fittings with windex to make sure there are no bubbles. No bubbles means no leaks. After testing is complete, you can disconnect the temporary line and add your hard pipe fittings. As mentioned before, all of the black hard pipe, elbows, and nipples can be found at your local hardware store. How much you buy and how you run it depends on where your meter is in comparison to where your gas line is running. Make sure you are using plenty of pipe dope to seal the fittings and get them nice and tight. Once everything is connected, we recommend completing one final leak test using to make sure it is completely safe.
**If you’re not certified in the state of Utah, you cannot legally do this work for money. For the underground fittings and risers, you do at least have to have a contractors license or a supply house that will sell you this product. If you have any uncertainty at all, please get professional help with your install.
Step 4: Lay the Detector Wire
Before you bury the line, lay down the detector wire next to the gas line. This will allow you to find the gas line after it’s buried. It is also beneficial to add some sand before adding the original dirt. The sand will help protect the gas line from rocks or other possible puncturing materials.
Step 5: Stack Blocks for the Fire Pit
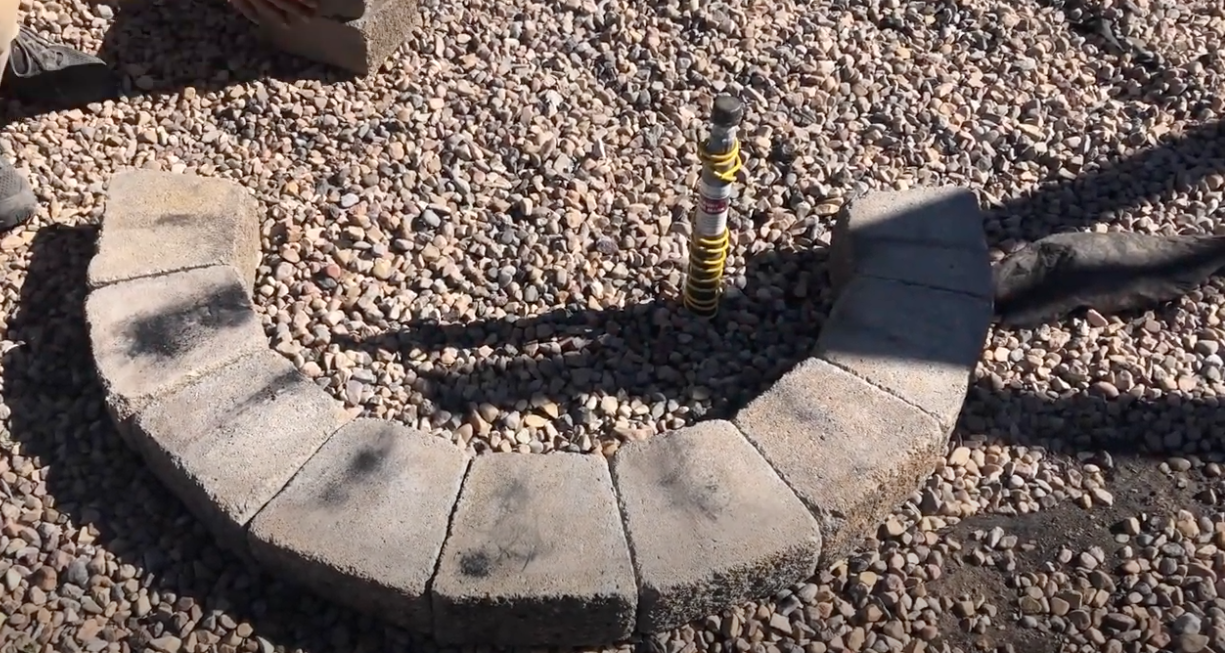
Stack the first layer of blocks in a nice circle, square, or rectangle around the riser where you want your fire pit. We keep our riser off-center. You don’t want the riser too close to the edge but you absolutely don’t want it in the center. This is because it will get in the way of your burner being in the center of the fire pit. After the blocks are set, go back and secure the first layer of blocks together. We glued the blocks together using liquid nails. The second and third row will be staggered for a strong structure and beautiful design. Put one bead of liquid nails along the seam of each of the first layer blocks, and stack the second layer blocks so the bead is in the center. Continue to stack and stagger the blocks as you go and build it as tall as you want. *Remember that you will need to install the Dante valve and an extension through on of your side blocks, so you may want to skip to the next step halfway though building the outside.
Step 6: Gas Line, Dante Valve, & Burner
Now is where you can add the fittings to the riser in the fire pit to the point of installing your Dante valve. This is the valve that allows you to turn the fire pit on. Place the valve close to the outside of the fire pit with the correct side facing out. Notice the direction on the Dante valve, there is an arrow that will point in the direction that the gas is flowing. Next use your fittings to curve the pipe back toward the center of the fire pit. Also, make sure to add an extension to the Dante valve and add the end cap so that you can access the valve through the blocks. Primer all of your hard pipe and fittings so that they don’t rust.
We used a grinder to cut the under side of the block that will sit on top of the Dante valve extension so that it will sit evenly with the rest of the blocks. Finally, add the burner to the center of your fire pit. You want it to sit just a couple inches below the top of the blocks.
Step 7: Fill in the Fire Pit
Next, fill the space around the burner. We used lava rock first because it is inexpensive and can withstand the heat. If you are using fire glass, fill the lava rock just up to the bottom of the burner, then add your fire glass so that you completely cover the burner. To save on the cost of fire glass, we covered about 1”, but you can fill up to 3”. We used 6 of our 10 lb. buckets of fire glass for approximately a 32” round space on the inside of the blocks. *Make sure to use gloves to move it around to avoid cuts.
Step 8: Test Flame
To test the flame, use your extended key to turn on the Dante valve and use a lighter to start the flame. (Make sure your eyebrows are out of the way ;)
Finally, you can enjoy your fire pit with friends and family! If you have any questions, feel free to give us a call at 801-489-5052 and you will reach our helpful customer service staff!


